

Multi Device VPN Gateway over LTE
In this post we're going to use a Raspberry Pi and 4G LTE dongle to create a VPN Gateway for your devices.
Why?
You may have devices that aren't capable of connecting directly to a vpn like Smart TV's and games consoles. Using a Raspberry Pi and mobile broadband dongle also lets you take it to hotels or on holidays.
Prerequisites and Kit
- A Raspberry Pi 4+
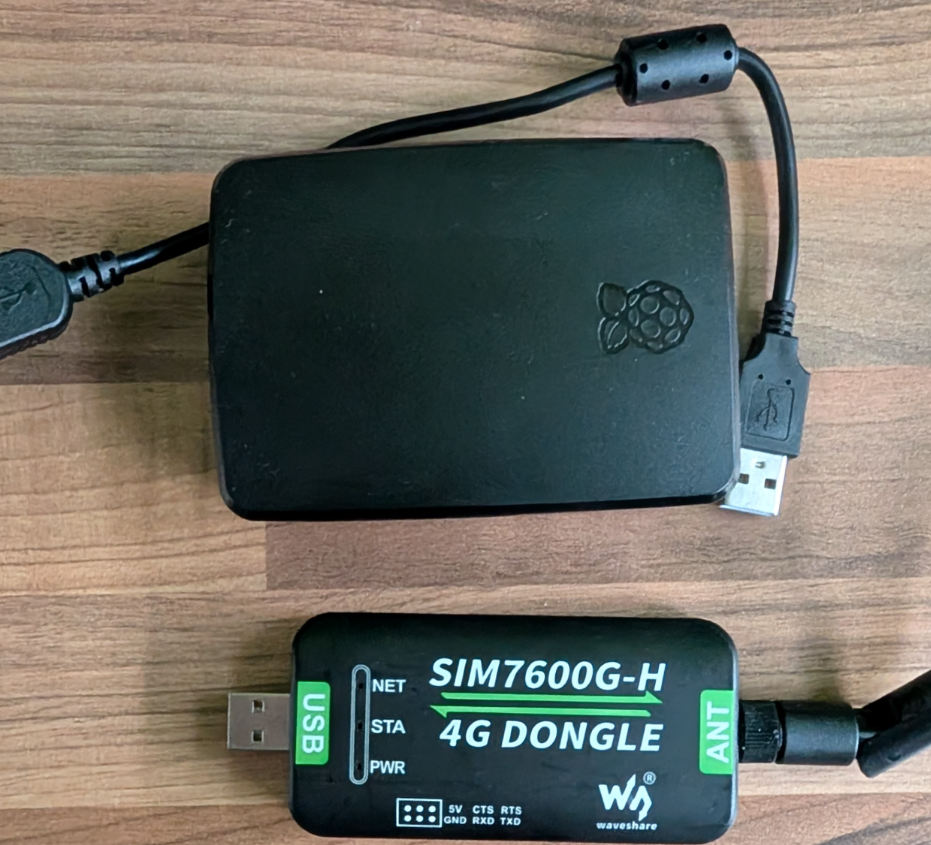
- USB Mobile Dongle - I'm using a SIM7600G-H 4G from WaveShare.
- Power, MicroSD and peripherals.
- Battery pack if you want to use the Pi without mains.
- Relevant mobile data plan and SIM.
- Familiarity with Debian/Ubuntu linux and the command line will be a huge help.
Pi Setup
All of this configuration is done using the latest Raspbian OS and a Pi 5. I used the Raspberry Pi disk writer to write the default installer to an SD Card. There's an easy install guide here. You will need root privileges.
LTE Mobile Dongle Setup
We'll need to set up the and enable the dongle. You may need to install the minicom packages.
sudo apt install minicomPlug the dongle into the Pi and look for USB
Find the USB Device ID -
ls /dev/ttyUSB*Connect to the dongle using minicom replace the '2' with the relevant device number shown in the previous command.
sudo minicom -D /dev/ttyUSB2You should be connected to the dongle and you will need to run the following to enable LTE and modem mode for our Pi.
AT+CUSBPIDSWITCH=9011,1,1In order to actually call the dongle as an interface you should then run
ip -a 
Now use the usb interface name to start the dhclient
sudo dhclient -v usb0 #replace 0 if required, (unless you're already running a USB network device it will almost always be 0)You should now be able to browse the net on your pi with the mobile dongle!.
Setting up the Pi as an Access Point
We need to setup the Wifi Access Point. It's important to note we are using Bookworm Raspbian and it defaults to network manager. The following commands will set up an access point using the onboard WiFi card on the Pi.
#Create a connection called 'vpn-gateway' with the SSID nrfs-ap1
nmcli con add con-name vpn-gateway ifname wlan0 type wifi ssid "nrfs-ap1"

#Set the connection to use a Pre Shared Key to authenticate
nmcli con modify vpn-gateway wifi-sec.key-mgmt wpa-psk

#Set the Pre Shared Key (Password)
nmcli con modify vpn-gateway wifi-sec.psk "123456789"

#Set the wireless mode and IP version to 4. We are just going to share the IP for internet access.
nmcli con modify vpn-gateway 802-11-wireless.mode ap 802-11-wireless.band bg ipv4.method shared

#To bring the connection up you can run
nmcli con up vpn-gateway
The password here is set to 123456789, obviously you should change this to something good!.
Iptables forwarding
Use iptables to forward all the traffic to your modem. This is the bare minimum and 'should just work' option. We can lock down the rules later if we need too. You will need to match the 0 to your usb device.
sudo iptables -t nat -A POSTROUTING -o usb0 -j MASQUERADEConnect to AP to test
You should be able to see your network SSID from your phone or other device, you should be able to connect
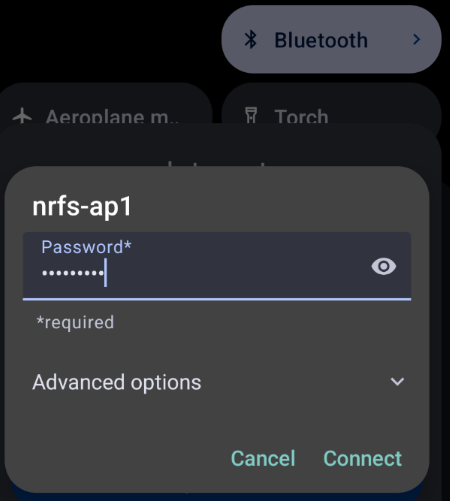
All being well you should be able to browse the internet.
Configure VPN
For this guide I'm using Mullvad VPN and OpenVPN. You'll need a working mullvad account with credit.
Login in to Mullvad and download the OpenVPN Configuration files. These are available on the lefthand side. Make sure you choose the linux option. You'll get multiple files in a zip folder.
In this example we are going to use a single end point country and a fixed exit. In a future post we will talk about being able to swap these.
Install OpenVPN
apt install openvpnConfigure automatic start.
vi /etc/default/openvpn Uncomment the 'all' as we are only using one config anyway.
# If you're running systemd, changing this variable will
# require running "systemctl daemon-reload" followed by
# a restart of the openvpn service (if you removed entries
# you may have to stop those manually)
#
AUTOSTART="all"
#AUTOSTART="none"
#AUTOSTART="home office"
#
# WARNING: If you're running systemd the rest of the
# options in this file are ignored.
Move the configuration from Mullvad into OpenVPNs folder.
cd /home/user/Downloads #change user to your username
unzip mullvad_xxxx_xx.zip
sudo cp mullvad_xxx/* /etc/openvpn
The files should be similar to these
- mullvad_ca.crt
- mullvad_xx.conf
- mullvad_userpass.txt
- update-resolv-conf
You must change the permissions of update-resolv-conf
sudo chmod 755 /etc/openvpn/update-resolv-confEnable OpenVPN as a service -
systemctl daemon-reload
systemctl enable openvpn
Test the Configuration
As it is now a service you should just be able to start the OpenVPN Service.
systemctl start openvpnYou should now be able to use a whats my ip service via a browser and see whichever country you chose as your exit point, I used Belgium for this configuration.

Auto connect and start the AP.
We want the modem to start and connect on boot, as well as connect to the VPN.
OpenVPN service
If you didn't do so above enable the OpenVPN service.
systemctl enable openvpnStart USB Modem on boot.
Create a script to connect to the usb device and add the iptables rules. (For the record this is quite lazy, especially the iptables config, in a future post we'll do a dedicated setup for iptables.
vi /opt/vpn/vpnstart.shAdd the following to the file
#!/bin/bash
sudo dhclient -v usb0
sleep 5
sudo iptables -t nat -A POSTROUTING -o usb0 -j MASQUERADE
Set the file permissions
chmod +x /opt/vpn/vpnstart.shCreate a service file to run the script
vi /etc/systemd/system/startvpn-forward.serviceAdd the following to the file
[Unit]
After=network.target

[Service]
ExecStart=/opt/vpn/vpnstart.sh

[Install]
WantedBy=default.target
We must set the after to network as we'll want the network stack to be up.
systemctl daemon-reload
systemctl enable startvpn-forward.service
Test it all
Reboot the Pi, It should powerup and connect to the dongle and VPN. Connect to the SSID and you should be able to browse the internet from your chosen exit point.
If you need to troubleshoot you can view the service logs by
journalctl -xeNext
In a future post we will look at hardening of the iptables rules. We will then look at the ability to swap exit servers without doing a reconfig or swapping vpn.conf files around.


